Installing new windows can often lead to a window installation mess, which can be concerning. Dust and debris are common during window replacement, and the disruption to your daily routine may seem overwhelming.
However, while some chaos is inevitable, there are effective ways to minimize the impact.
By adequately preparing your home and choosing the right professionals, you can ensure the installation process is as smooth as possible.
This article will explore how to manage the mess during window installation and provide tips to keep your space clean and organized.
What causes the mess during window installation?
A window installation mess is often unavoidable, primarily due to a few key factors.
When old windows are removed, dust, drywall fragments, and frame remnants can quickly accumulate.
Cutting or removing wall sections to accommodate new windows can produce dust and debris. Additionally, the installation team may also need to remove interior trim or moldings, adding to the clutter and disruption in your living space.
You should also be aware the level of mess can vary based on the type of installation.
Single window replacement
When replacing a single window, the disruption is usually minimal, with only a small area affected by dust and debris.
Multiple windows replacement
If multiple windows are replaced simultaneously, the mess can escalate quickly. This is due to the larger volume of removed materials and the bigger workspace required for installation.
Standard window installation
Standard windows typically fit into pre-existing frames, requiring less cutting and adjustment, which results in less debris.
Custom window installation
Custom windows often require more structural modifications, leading to more dust and mess.
Understanding these differences is crucial to effective home preparation for window installation.
Now, let’s discuss practical tips for reducing the mess during the installation process, ensuring a smoother and easier window replacement cleanup afterward.
How to reduce mess during window replacement

You can take proactive steps to protect your home before the installation crew arrives.
Tip 1
Start by using drop cloths or tarps to cover floors and furniture, especially near the windows being replaced. This helps catch any dust or debris during the process.
Tip 2
Consider isolating the installation area by closing doors or using plastic sheeting to create barriers, which will help prevent dust from spreading to other parts of the home.
Tip 3
Before the crew’s arrival, it’s important to clear the area around the windows. Remove any items from windowsills and nearby spaces, including decor or plants, to give the installers easy access.
Tip 4
Last, but not least, keep in mind that professional installation teams often have tools and products designed to minimize dust and debris. For example, some teams use specialized vacuum systems to capture dust as it’s generated, reducing the mess.
The installation team’s role in minimizing window installation mess
A reputable team will follow best practices, such as performing periodic cleanups during the installation to keep dust and debris under control. They often use specialized equipment, like vacuum cleaners with dust filters, to capture particles and keep the workspace cleaner.
When selecting a window installation company, ask about their cleaning protocols and how they handle the window replacement cleanup process. Look for companies with strong customer reviews that highlight their attention to detail and cleanliness.
Post-installation cleaning: What to expect?
After installing your new windows, you may notice that certain areas of your home require more thorough cleaning due to the window installation mess. Commonly affected areas include the spaces around the windows, where dirt can accumulate.
To organize your post-installation cleanup effectively, here are a few options:
Step 1
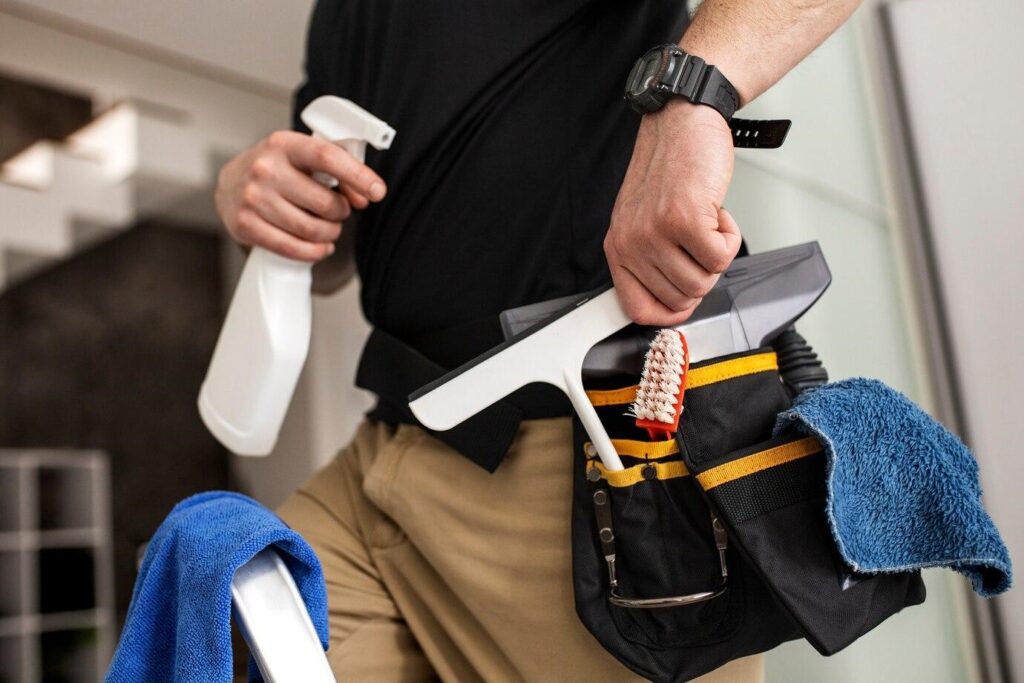
If you choose to handle the cleanup yourself, gather the necessary supplies such as a vacuum cleaner, microfiber cloths, and appropriate cleaning solutions.
Step 2
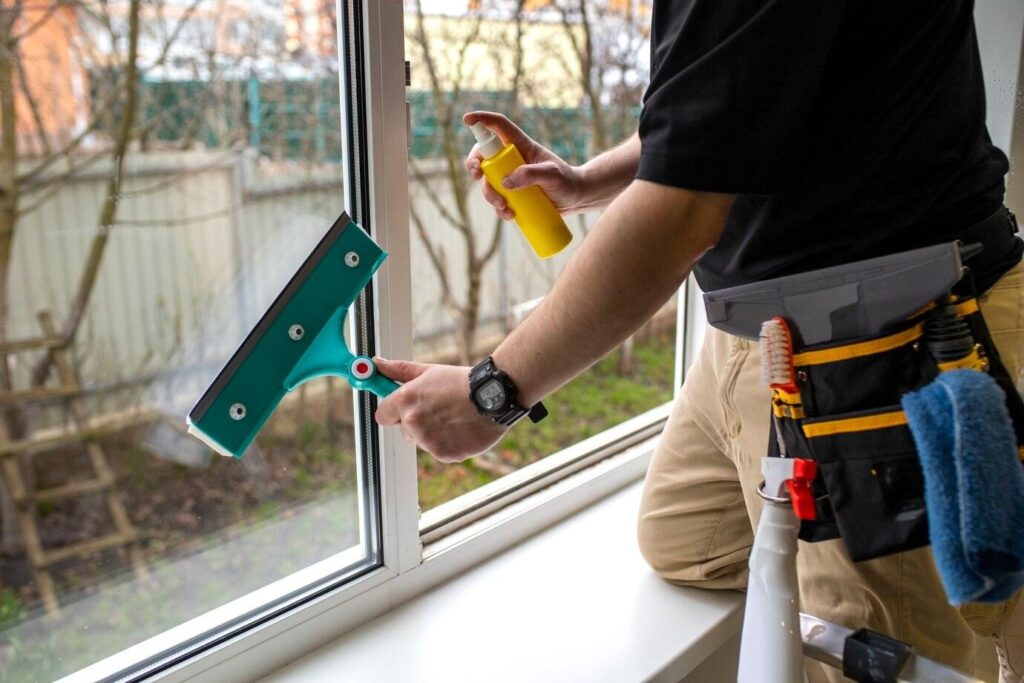
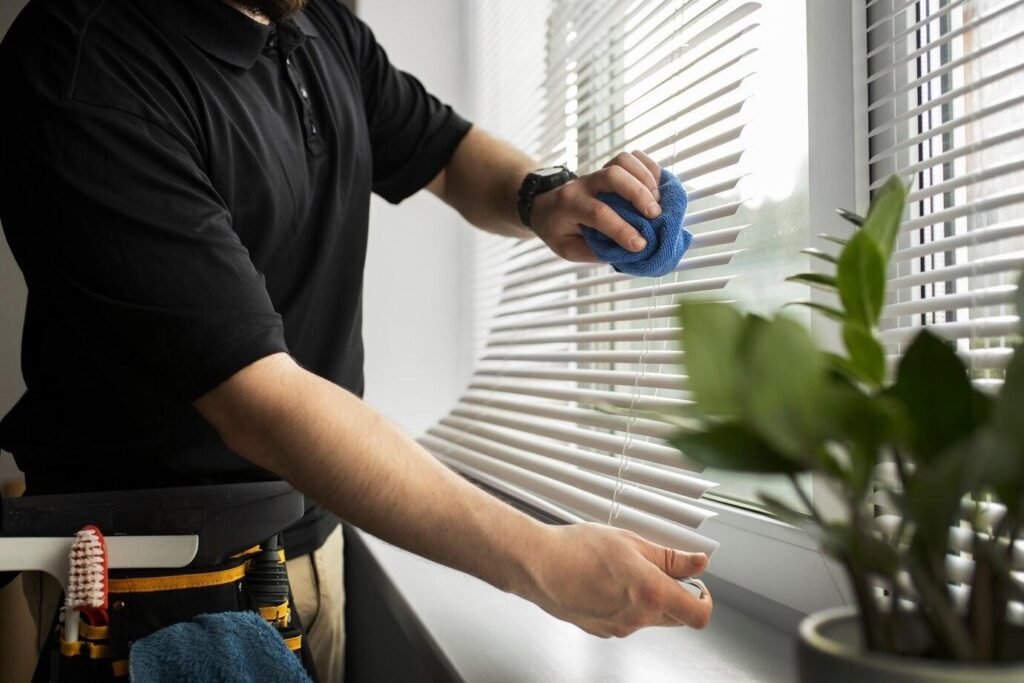
Start by vacuuming the floors and surfaces near the installation site to remove any dust and debris. Don’t forget to wipe down the newly installed windows to get rid of any smudges or marks left behind.
Tip
If the cleanup feels overwhelming, consider hiring a professional cleaning service specializing in post-construction cleanups.
They can efficiently manage the window replacement cleanup, ensuring every nook and cranny is addressed.
Typically, the installation team will include a basic cleaning at the end of their workday, including removing larger debris and sweeping or vacuuming the immediate area.
However, it’s essential to clarify your expectations with the team to ensure all aspects are covered.
Choosing a reputable installation company

While window installation mess is inevitable during the replacement process, following the tips outlined in this article can minimize its impact.
If you’re ready to upgrade your home with new windows, choose Top Notch Remodeling for a seamless installation experience.
Contact us today for your free quote!


